Nine steps to an amazing oven!
Below is a nine step process to build your dream pizza oven. Using a cardboard mould and refractory mortar the process becomes and lot more simple than traditional brick builds.
Ovens should be built on a non flammable stand (ie not wooden).
Click here to watch the construction summary video
Or jump to our full construction videos here
Step 1: Create a reinforced concrete hearth (floor base) for the oven. This is usually created in situ on top of the stand.

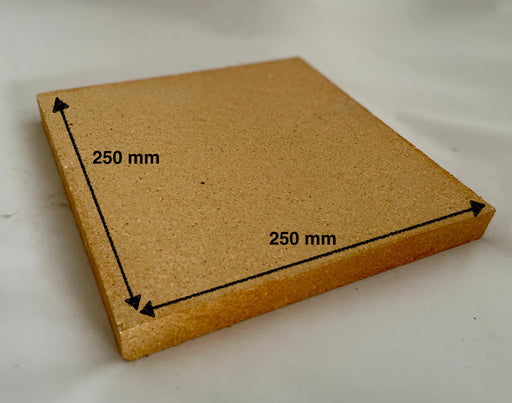
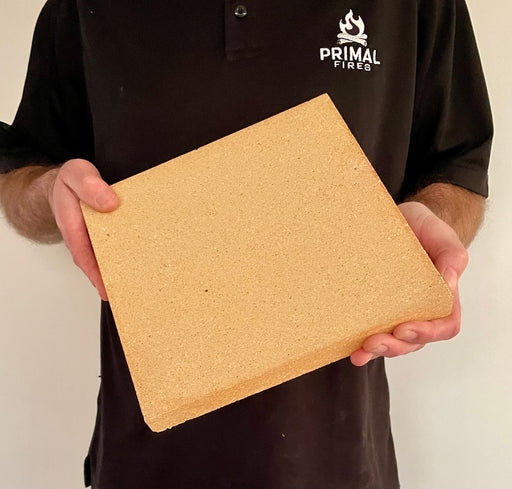
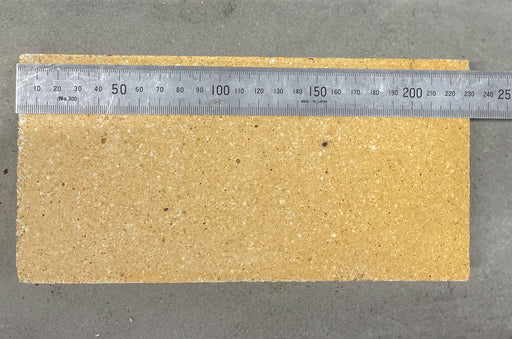
Step 2: Add insulation layer to reduce heat loss into the slab and isolate the fire brick floor so they can quickly achieve a good cooking temperature. A bed of mortar is laid under the bricks so the bricks can be made level (as fire bricks vary in thickness) and to increase thermal mass (for better heat retention).

Step 3: Place cardboard mould into position and construct the arch entry using small wedges to space the bricks.

Step 4: Apply a refractory type mortar between arch bricks, around flue entry and over dome. This is done all in one go (genius!).

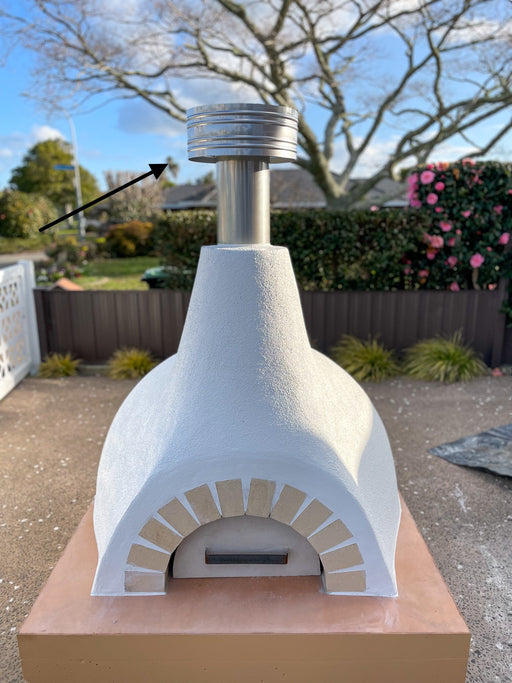
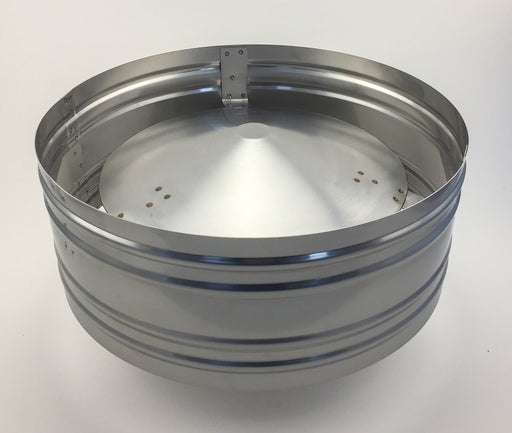
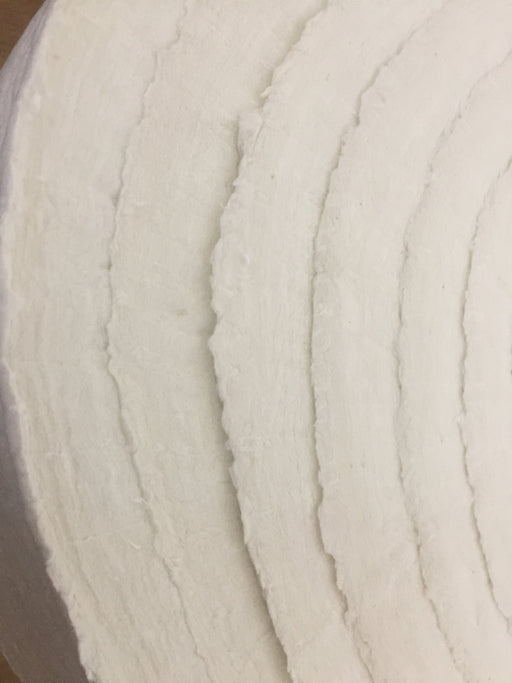
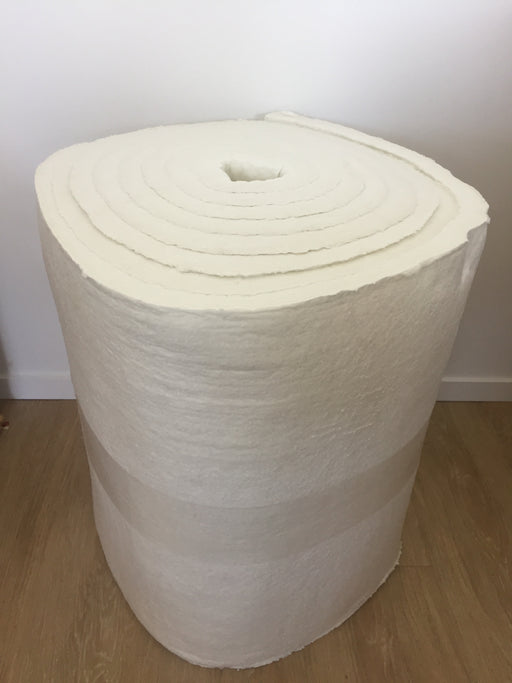
Step 5: Insert the flue(s) into position and add ceramic fibre insulation. This keeps the heat in the oven and stops the outside getting too hot.

Step 6: Cover the insulation in tinfoil and wire mesh so the new mortar coat has something to adhere too.

Step 7: Add a high strength mortar to further create the shape. We recommend a waterproof mortar to protect the insulation and inner dome from water seeping in.

Step 8: Add further decorative layers to get the desired shape and finished texture (optional step).

Step 9: After drying the oven out, paint the exterior in a good quality acrylic paint.

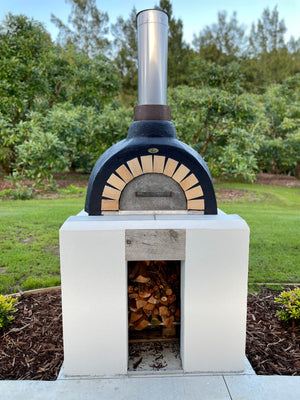
Presto! You have a brilliant pizza oven to enjoy for many years. We guarantee you will have more friends! (well almost guarantee it anyway :-)).